
How many camera modules can you connect to one Xavier NX dev kit?
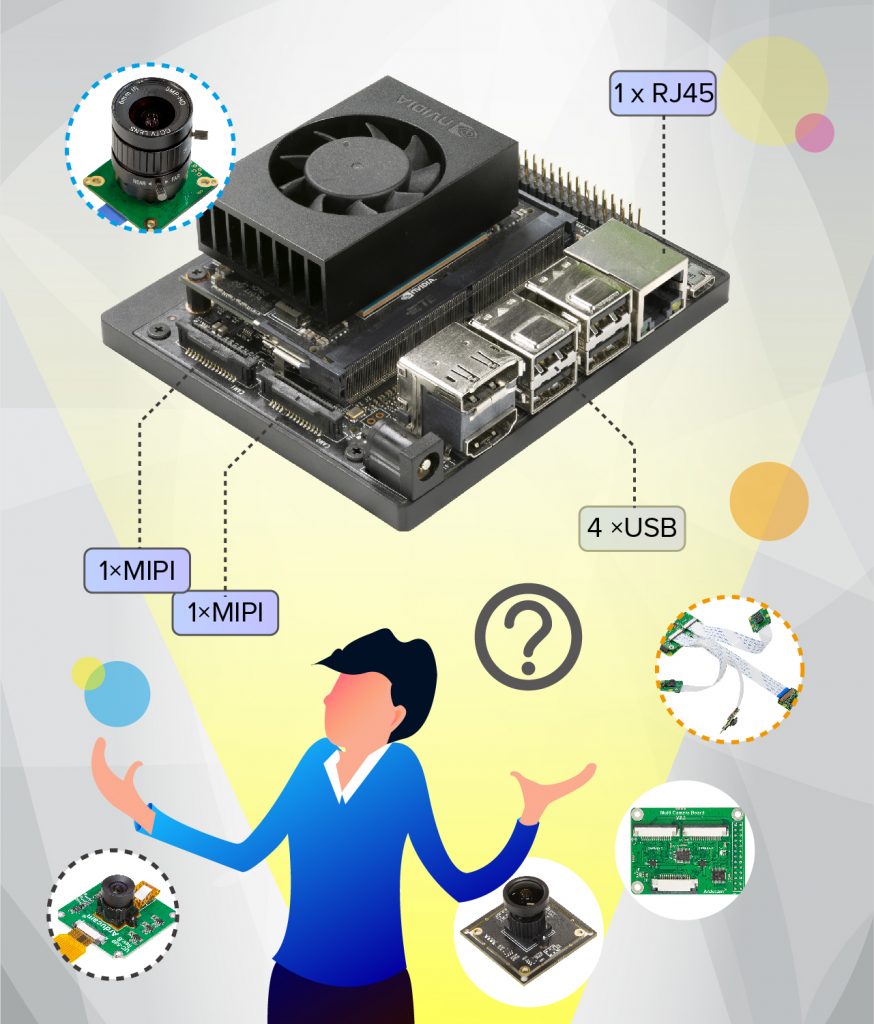
The official NX dev kit comes out with two MIPI CSI connectors(J1 & J9) plus four USB ports, offering multiple choices for camera connections. The obvious thing is that you can use all 6 of them with camera modules featuring appropriate interfaces, and for savvy users, the ethernet jack (RJ45) can also be utilized with all kinds of IP cameras.
These different types of camera connections have their own pros and cons, what really concerns people is whether these three interfaces can be used all together.
The answer is yes, it’s doable, you can manipulate all the available connectors, open and even access all camera modules at the same time
The NX dev kit can only take 7 cameras in total, 4 via the USB ports, 2 via the MIPI CSI-2 connectors, and 1 via the RJ45 port.
So is that all you can get? Are there better solutions? Let’s find out!
How do multiple cameras work on Xavier NX?
Knowing how to connect cameras, install drivers, and operate them with various commands can only get you a preliminary functioning setup. In order to solve real-world problems with the NX kit, you have to get a grip on how multiple cameras work.
In general, when you use more than 2 camera modules with Jetson NX, there can be 3 situations (regardless of the interfaces):
All cameras run concurrently in a synchronized order, capturing simultaneously at the exact time, and the modules are synced to the frame level, this is required for stereo vision projects like depth mapping, SLAM, VR, etc.
All cameras run one by one in consecutive order, when one camera is up, all other cameras are on standby, if you make the response time of switching from one module to another short enough, it will look like they are working synchronously at the same time. This is good for applications that only need multiple inputs and don’t care about syncing.
All cameras run at the same time with annoying latencies and unmatched frames, worse yet, you will get stuck with bandwidth caps capacity and have to deal with lag-reducing by doing lower resolutions and frame rates. You also need to be an advanced developer to make something like this work for certain applications.
With these in mind, let’s take a look at the solutions we picked.
Best multiple camera solutions for Jetson NX
All recommendations are based on the official Xavier NX dev kit, The NX module itself is a beast, it has 14 (3×4 or 6×2) MIPI CSI-2 lanes, and with D-PHY v1.2 it is able to handle data at a maximum of 30 Gbps, yet the official dev kit only offers 2 lanes, which means if you want to embrace the MIPI interface in its full glory, you need third party carrier boards. And all these selected solutions are compatible with them.
It is not recommended to use multiple IP cameras as a solution because of limitations like higher power consumption and lack of control on things like exposure, white balance, etc.
It is also critical to take these into considerations:
Frame-Level Synchronization: Whether or not all the cameras are synced.
Support for different sensors: Whether or not it’s available to choose from various image sensors.
And if you are intertested in Jetson Nano too, check out the following article.
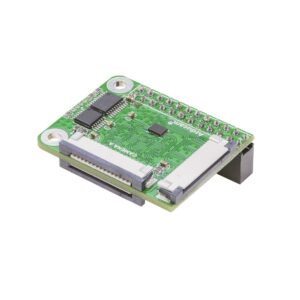
1. MIPI camera doubleplexer & quadruplexer

These adapters can help you expand the MIPI CSI-2 interfaces on the original NX kit. Let’s assume you have 6/8 camera module V2s or High Quality cameras, and since they are well supported, you want to use them all with NX, those multiplexers are exactly what you need.
What’s really great is that you can also use them with our exclusive Jetvarity cameras, OBISP cameras, plus all other modules we’ve released for the NX platform.
Drawbacks? You have to switch between them because only one camera is allowed at a time.
2. Depth cameras & stereo HAT bundles
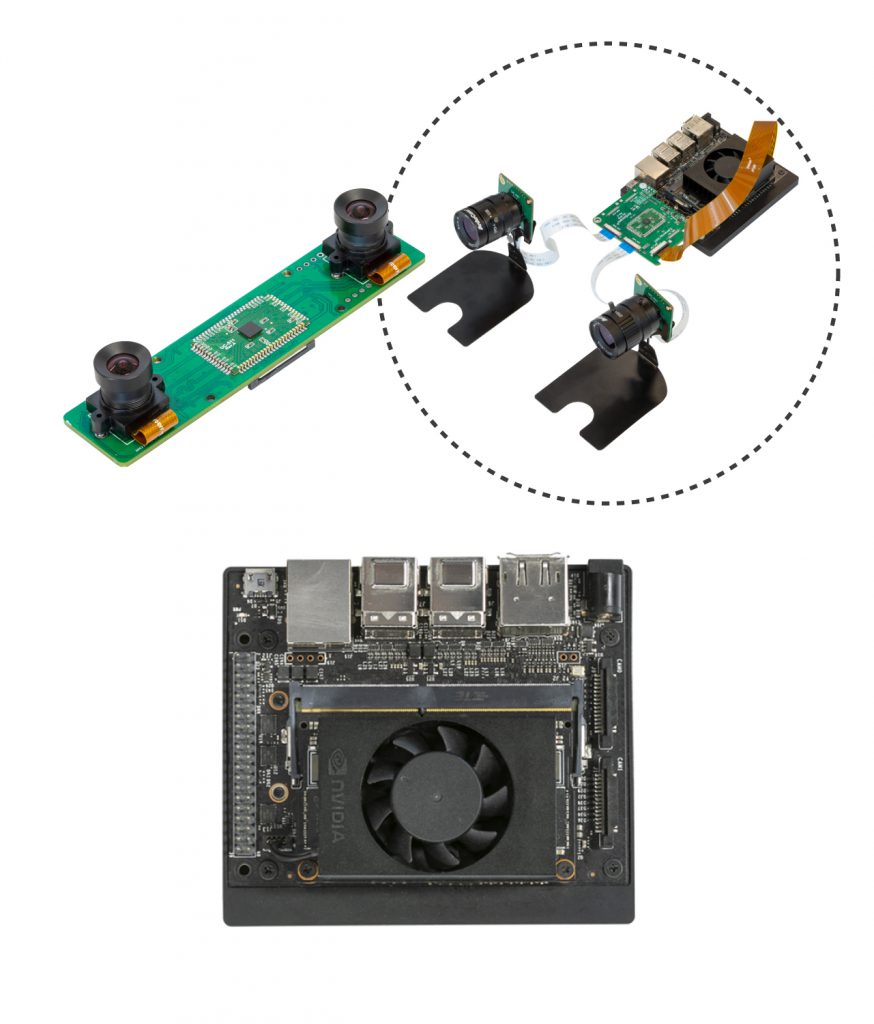
You’ve probably heard of or even tried the Intel Realsense or ZED camera series, these depth cameras are undoubtedly powerful in so many ways and are also compatible with the entire Jetson family.
However, when it comes to flexibility and cost-effectiveness, you may need to look elsewhere. Here are the two types of depth cameras we picked:
Depth camera modules: Everything is packed into a single board, the two cameras are perfectly synced and only takes up one MIPI CSI-2 interface. You can have either a side-by-side output or a stitched view with combined resolutions, they are ideal for ROS and many other NX projects involving stereo vision.
-

1MP*2 OV9281 Global Shutter Monochrome Stereoscopic Camera Bundle Kit for Raspberry Pi, NVIDIA® Jetson Nano/Xavier NX/AGX Orin/Orin Nano/Orin NX
$ 164.99 -
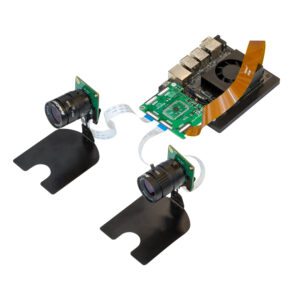
Arducam 12MP*2 Synchronized Stereo Camera Bundle Kit for NVIDIA® Jetson Nano/Xavier NX/AGX Orin/Orin Nano/Orin NX, Two 12.3MP 477P Camera Modules with CS Lens and Camarray Stereo Camera HAT
Stereo HAT & Camera Kits: Having a combo like this simply means you get to control all the stuff: the length of the baseline, how the two modules are positioned and even what sensors to use! These are the things you can’t find in a D455 or ZED 2.
-
1MP*2 OV9281 Global Shutter Monochrome Stereoscopic Camera Bundle Kit for Raspberry Pi, NVIDIA® Jetson Nano/Xavier NX/AGX Orin/Orin Nano/Orin NX
$ 164.99 -
Arducam 12MP*2 Synchronized Stereo Camera Bundle Kit for NVIDIA® Jetson Nano/Xavier NX/AGX Orin/Orin Nano/Orin NX, Two 12.3MP 477P Camera Modules with CS Lens and Camarray Stereo Camera HAT
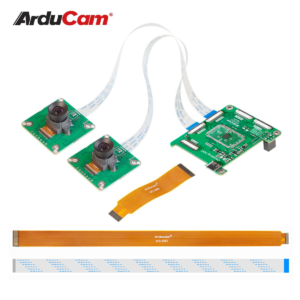
3. Multi-sync camera combiner: Camarray HAT
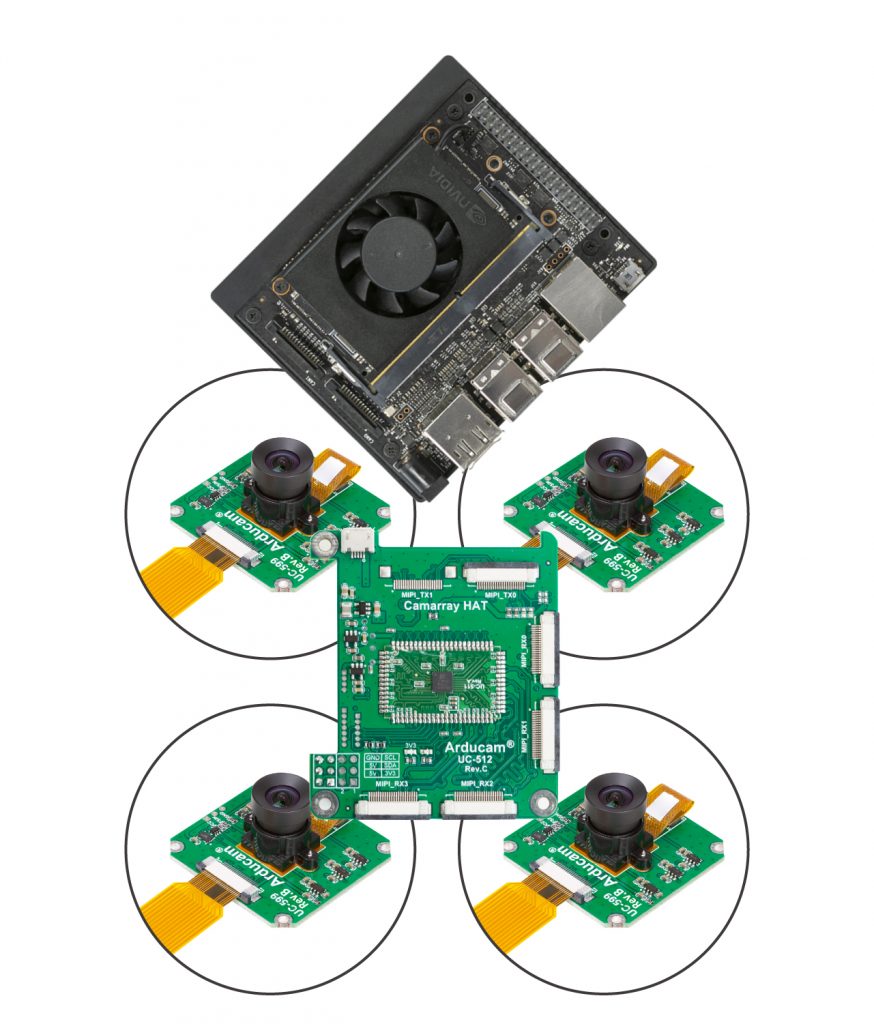
This Camarray HAT can equip your Xavier NX with more than 2 syncing cameras, it’s an upgraded version of the stereo HAT, a carrier board for MIPI cameras, an expandable stereo vision infrastructure for the NX platform.

More about Camarray:
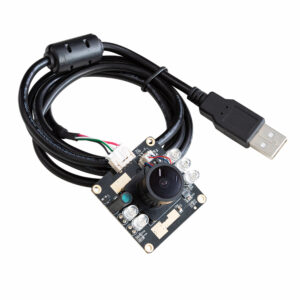
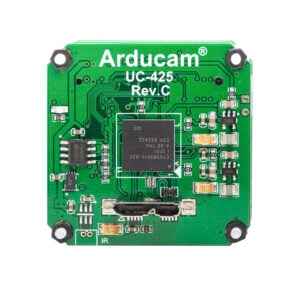
4. Multiple USB UVC Cameras
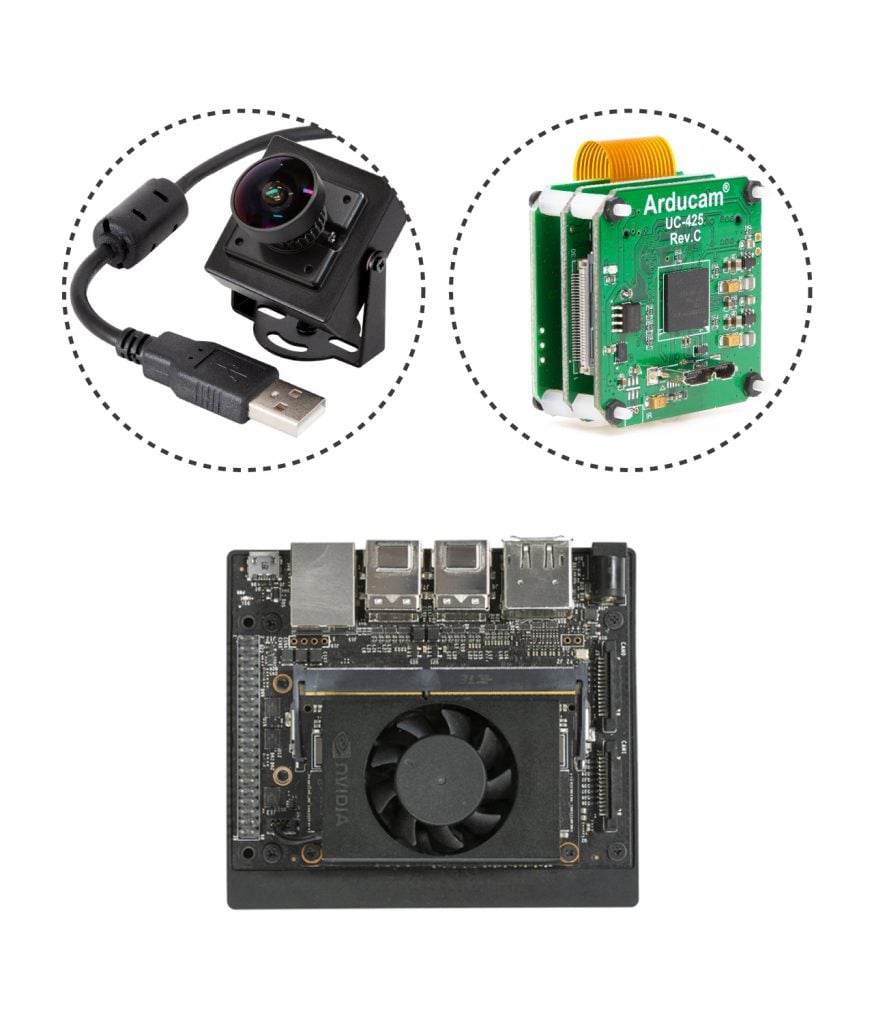
This is the most convenient solution of all and is adopted by a lot of NX users. You buy a bunch of USB camera modules and connect them to the kit, you can even add extra USB ports with some hubs, and best of all, all cameras can be accessed at the same time.
Unavoidably, it has its own limitations too:
Impossible to sync: To have all camera modules in a truly synchonized state, you can only use USB cameras that support external triggering.
Shared bandwidth: No matter how many USB ports you get, the bandwidth that all camera modules are able to utilize is limited to 40MB for USB 2.0 and 5Gbps for USB 3.0 (e.g. if you use 10 USB 3.0 camera modules with the same configuration, each camera gets 0.5 Gbps.)
Our USB camera shields along with dozens of image sensors are here to address these problems. With them, you get to leverage full USB 3.0 bandwidth to connect more modules and external trigger support for synchronization.
More about USB cameras:
Things to consider before designing your NX based multi-camera systems
Trade-offs between bandwidth and resolutions/frame rates: Due to the bandwidth limitations, the more cameras you use, the lower resolutions & frame rates you will get for each module.
Whether synchronization is needed: If you require all camera modules capturing at the same time within a millisecond-level accuracy, you have to keep them synchronized.
What interface to choose: The MIPI CSI-2 interface offers the highest bandwidth and the best latency control, and budget-wise, it should always be your first choice.
Camera Clustering on Jetson Xavier NX
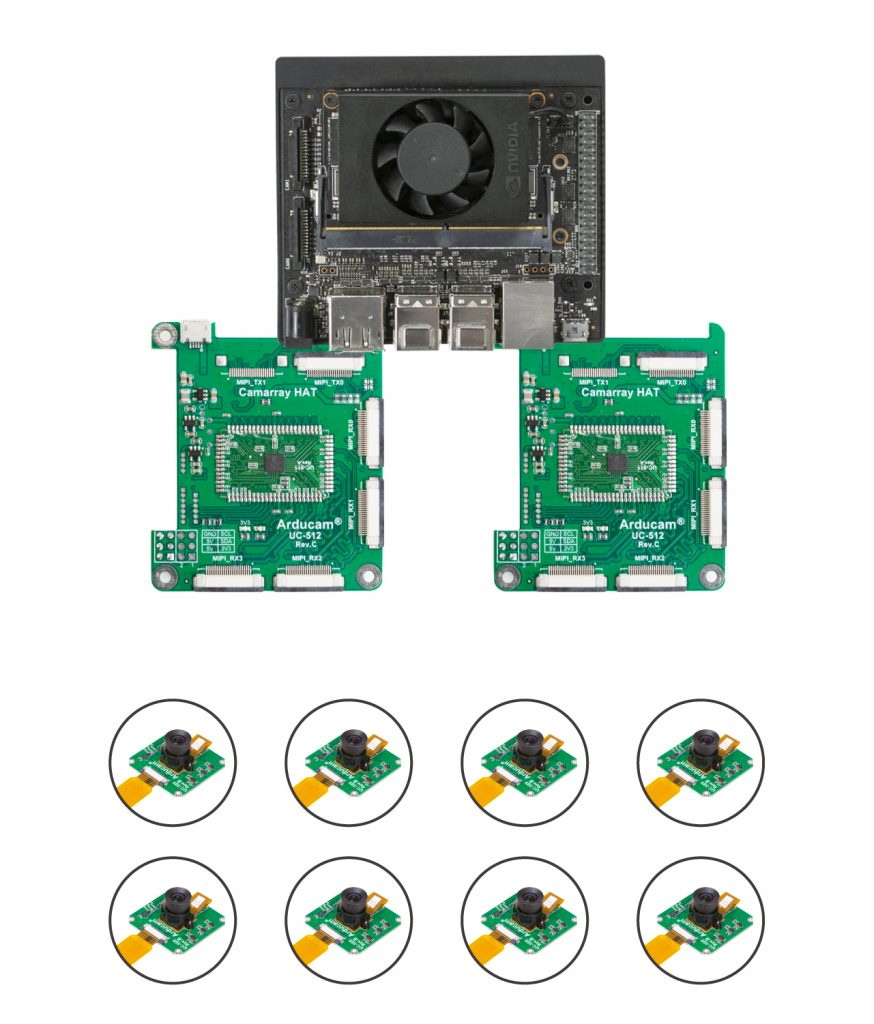
We’ve talked about the disadvantages of using mixed interfaces, so how to build a truly deployable camera cluster system with the Xavier NX?
You need only two things: Camarray HATs & lots of MIPI cameras.
Every Camarray HAT can support 4 cameras, the official dev kit offers 2 MIPI CSI-2 DPHY lanes, and if you use 2 Camarray HATs with each one of them, you get to connect 8 modules.
And if there’s a carrier board that offers more MIPI lanes, you can easily build a camera cluster with more than 8 cameras!
Get the idea?
Let us know what you think!

Can I use it with Arducam NOIR 8 MP Sony IMX219 camera module with M12 lens LS1820 for Raspberry Pi 4/3B+/3?
Yes, please contact Arducam sales for detail info.