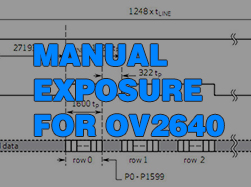
Overview ArduCAM all given examples are using auto exposure for easy use of the camera. But somethings users want to control the exposure more precisely. This article will cover how to do manually exposure to OV2640 camera. How does Rolling Shutter Sensor Exposure All...
Introduction ArduCAM series camera shield is a universal camera control board for Arduino. It hides the complex nature of the camera and provides the plug and play camera control interface as well as the ready to use software source code library and demo code. User...
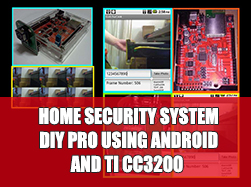
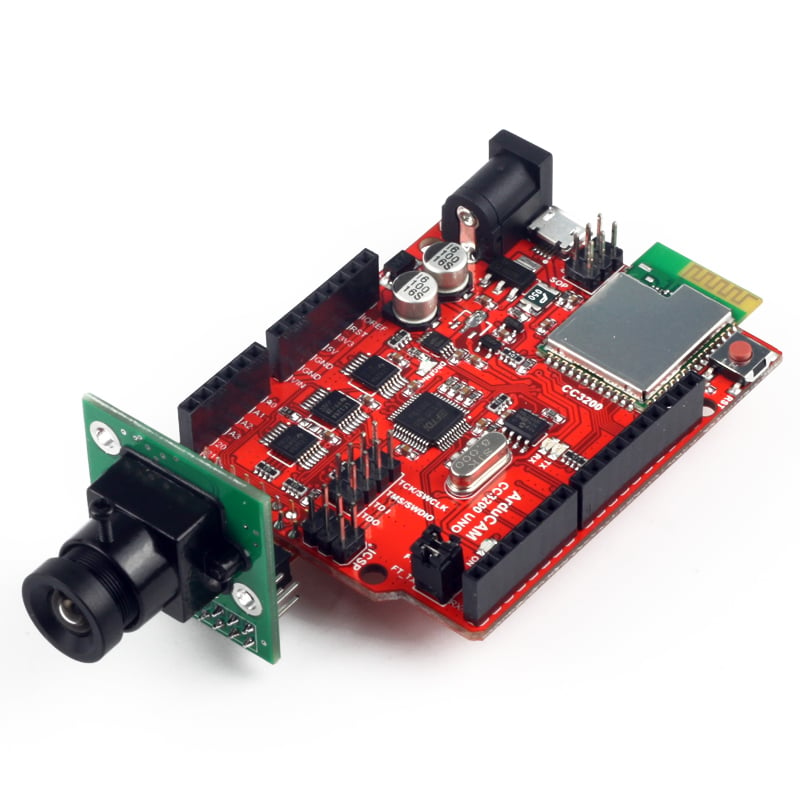
The author Robert Chin wrote a book for Home Security System DIY PRO using Android and TI CC3200 SimpleLink using ArduCAM CC3200 UNO DIY WIFI Start Kit. If you want to build home security system by yourself, it is right for you to read about it. And now it is...
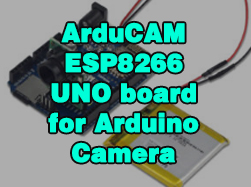
Introduction ArduCAM now released an ESP8266 based Arduino board for ArduCAM mini camera modules while keeping the same form of factors and pinout as the standard Arduino UNO R3 board. The high light this ESP8266 board is that it well mates with ArduCAM mini 2MP and...
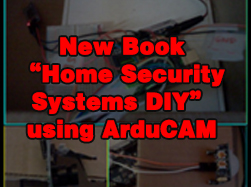
The author Robert Chin wrote a book for Home Security Systems DIY using Android and Arduino using ArduCAM Mini camera module Arduino and Android. For Arduino and its camera fans, it is right for you to read about it. And now it is available on Amazon Introduction...
Introduction ArduCAM team now announces to release a new CC3200 UNO board which is full featured development board almost like a combination of CC3200 Launchpad plus CC3200CAMBOOST pack from TI while keeping exactly the same size as Arduino UNO and pin out. It is...
Here are our forum rules to comply with if you want to post a new topic:
Arducam posting rules
The posting rules aim to help you better articulate your questions and be descriptive enough to get help.
Any topic that fails to comply with the posting rules will be unapproved starting from 11/11/2020.
This forum is public. If you prefer a private conversation with Arducam, go to our Contact Center.
If you need help with the Arducam products you’ve purchased, please include the following questions in your post and answer them to help us better understand your needs.
Which seller did you purchase the product(s) from? (Is it Amazon, UCTRONICS, or other Arducam distributors?)
What’s the Model number of the product(s) you’ve purchased? (If you don’t know the model number, show us the link to the product.)
Which Platform are you using the product(s) on? (Is it a Raspberry Pi 3B+/4B, Arduino UNO R3, Jetson Nano B01, or another host?)
Which instruction are you following? (Is it our paper instruction manual, online documentation, or video tutorial? A link will Help.)
Has your product ever worked properly? (Never worked, quit working, or work intermittently)
What problems are you experiencing? (pictures and error codes will help a lot)
What attempts at troubleshooting have you already made?