
What is an LWIR camera

“LWIR” is an acronym for “Long Wave Infrared”, it’s on the invisible part of the electromagnetic, or more specifically, the infrared spectrum, and has a wavelength ranging from 8μm ~ 14μm. LWIR cameras and sensors, on a simple rundown, are designed to detect and capture infrared radiation, which is unseeable to the naked human eye, within that IR band.
Long-wave Infrared has considerably lower frequencies and carries less energy than visible light, and is not as harmful as ultraviolet or X rays:

LWIR cameras are mainly used in thermal imaging and security applications like leakage/gas detection, heating/cooling inspection, chemical/aerial/medical thermography, non-contact material testing, etc.
How LWIR camera actually works
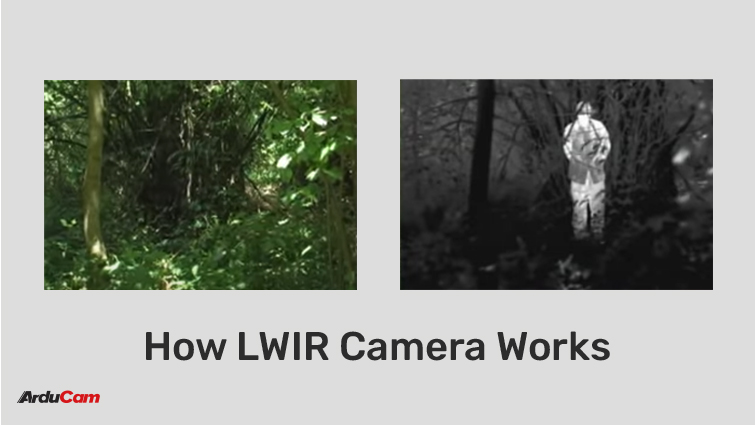
Infrared radiation is everywhere. Everything around you, including your very own self, emits, absorbs, or reflects infrared energy. At the receiving end, an LWIR camera captures such types of infrared lights, converts them into digital counts, and outputs them as a viewable colormap or a grayscale image that clearly shows the radiation level of everything in the environment.
Unlike conventional CMOS/CCM daylight cameras, LWIR cameras do not rely on reflected visible light to work and can be used in complete darkness.
The ability to observe thermal patterns allows an LWIR camera to “see through” things that can bar visible light while letting infrared radiation pass, like fog, gas, smoke, dust, and sometimes even walls, plastics, and metal objects, as long as things behind them cause the temperature of the surface to increase to a certain extent.
How we created our LWIR camera evaluation kit
Our goal is to provide the maker community with a complete thermal imaging solution, to make an LWIR camera that is industrial-grade, thoroughly built for embedded hardware, using only a fraction of the costs of high-rated thermal imagers.
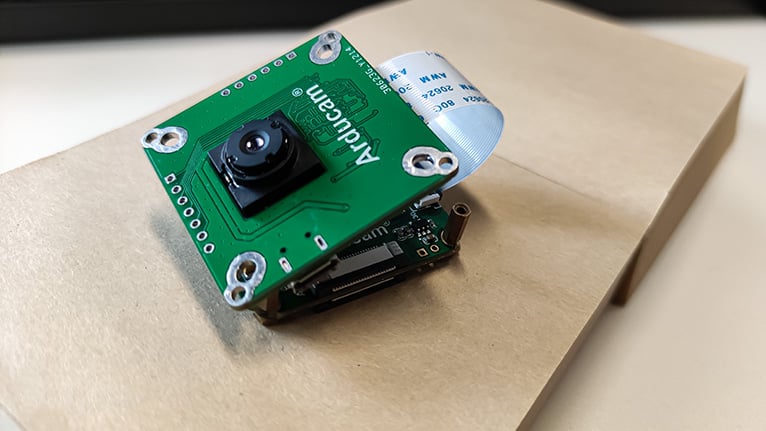
The first step we took was designing an LWIR sensor breakout board, getting it working with our USB camera dev board, and after some trial and error, successfully building it into our camera SDK.
A brief sum-up of the Arducam LWIR module:
- Sensor: VOx Uncooled infrared focal plane sensor with WLP package
- Spectral range: 8 μm ~14 μm
- Resolution: 192×256/160×120
- Pixel size: 12 μm
- NETD: 50mK @ F#1.0 25Hz
- Response time: <10ms
- Frame rate: ≤25Hz
- Non-uniformity correction: Automatic with shutter
- Image output: 10/14-bit CMOS
- Lens: Athermalized
- Radiometric range: WR: -15℃~+150℃(High Gain) 50℃~+550℃(Low Gain) CR: 30℃~45℃*1
- Radiometric accuracy: WR: ±2℃ or ±2% CR: ±0.5℃*2
- Power consumption (room temperature): Operating – Normally 240 mW / During shutter event – Normally 600mW
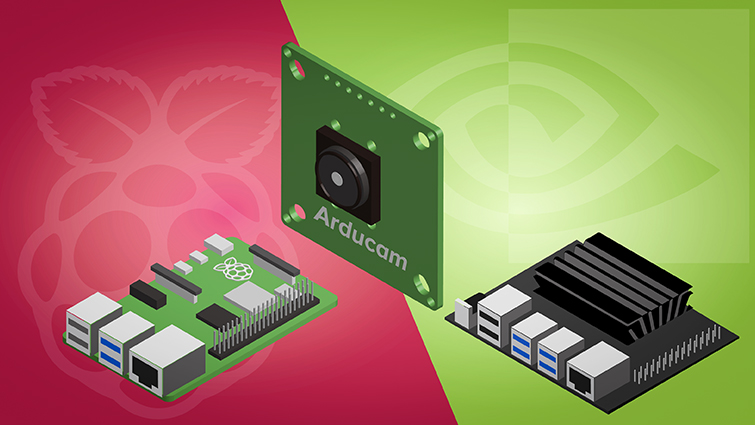
Making it available for Raspberry Pi, Nvidia Jetson Nano, Xaiver NX, etc.
The Arducam LWIR EVA kit is almost at the off-to-go state for any hardware featuring USB connections, but it’s not a finished product, we are still a few steps away from what we originally wanted.
Pis and Jetsons support high-speed MIPI CSI-2 cameras, yet the LWIR module itself only allows image data to be transferred through a DVP (currently using) or SPI interface, our top priority right now is to find a way to make it an authentic MIPI camera everyone can use.
Before then, let’s see how it goes.
Want a low-cost LWIR camera up and running right away?


This is a fantastic concept. Up until now quality thermal imaging is very cost prohibitive. Not to mention the frame rate limitations. If you can help cross that bridge that would be amazing.
How do you compensate for the different thermal responses of the sensing elements? Will the sensor require routine recalibration? Looking forward to the release of your evaluation kits. :>)
Great work. Any estimates on when something might hit the market?
Looks so great. I am interested in testing it.
Sub to our newsletter and we will let you know once it’s available.
Great project. I am interested in testing it.
Looks like it could be a great new product.
If it is SPI already and it has low resolution (compared to visible light cameras), how about a module & driver that will work with the standard Pi interface pins, Pi Pico, STM, and Arduino micro-controllers? Why limit it to Pi’s and Jetson’s with a mipi interface, there are a huge number of makers and dev’s that would love to try this out for all sorts of projects.
thanks.
This looks great! Any updates on a release date? What would the range (distance) of the LWIR and is it possible to attached a zoom lens to this module?
Any update on this? Is it a question of time or money or both?
Wow. I really really would like to buy these. My objective is to retrofit my van with a front view camera to see heat sources (eg. people with dark clothing or animals) in the dark at a longer range. This seems to be the only missing component.
Very interesting. Would like to work with this, when you get it ready to release.